How to make a Halloween pumpkin?

“Jack-O’-Lantern” originally referred to a guy named Jack with a lantern which was usually seen wandering in the swamps. And then the tale developed into the trick that kids would act like Jack with an impromptu lantern made from turnips, beets, and potatoes. Because pumpkins were easy to come by especially in America, they finally become the mainstream carving material and it is why we call it Halloween pumpkin. So here comes the question: how to make one for the upcoming Halloween?
Picking a Pumpkin

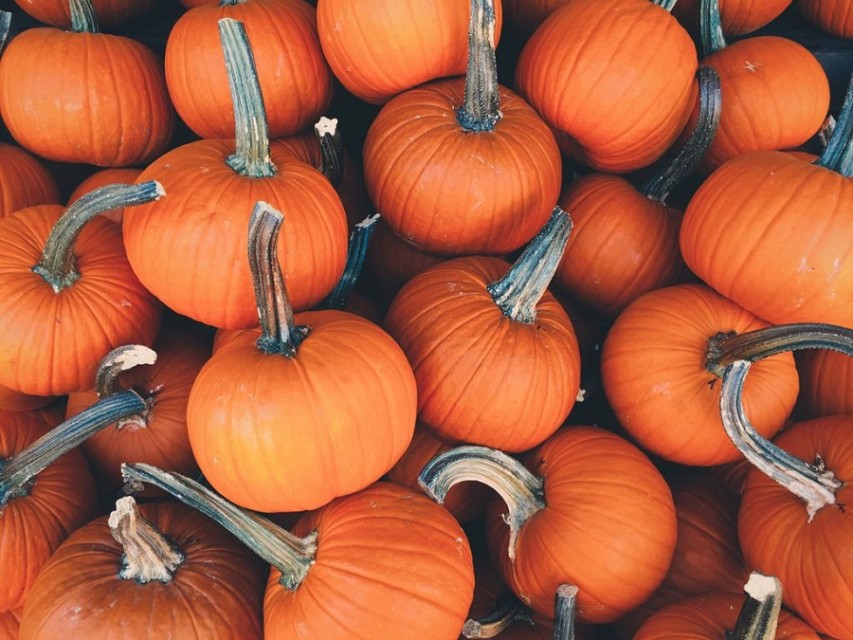
“Well begun is half done.” Before getting down to carve, you need to buy a good pumpkin in the local supermarket or pumpkin patch. Farmer’s market may sell pumpkins as well. But how to select?
Shape: The shape is up to your taste, but if you are a green hand, the safest choice is around and medium-sized one. If you have kids, the smaller pumpkins will be great.
Hardness: Make sure the pumpkin you pick is sturdy enough or it will rot very soon. Applying pressure on it with your thumbs may help you make a judge.
Coloring: Choose one with consistent coloring and without any scratches, bruises or dark spots. These insignificant flaws are a hotbed for infection and decomposition.
Stance: Look for a pumpkin that sits flat so that it is easier to display it on Halloween night.
Carving the pumpkin

Sketch out the design first: Common ideas include a “spooky” face, a haunted house, or the silhouette of a bat. Try to search online or borrow a book for more ideas. Print it out or draw it on the paper, and then use a marker to outline the design on the pumpkin.
Choose a tool for carving: It is recommended to use a long serrated knife as the pumpkin flesh is very thick. Do not pursue speed. The outside of the pumpkin can be a little hard to cut and you need to make sure there’s no marker residue. If there is, a nail or pushpin will help to remove it.
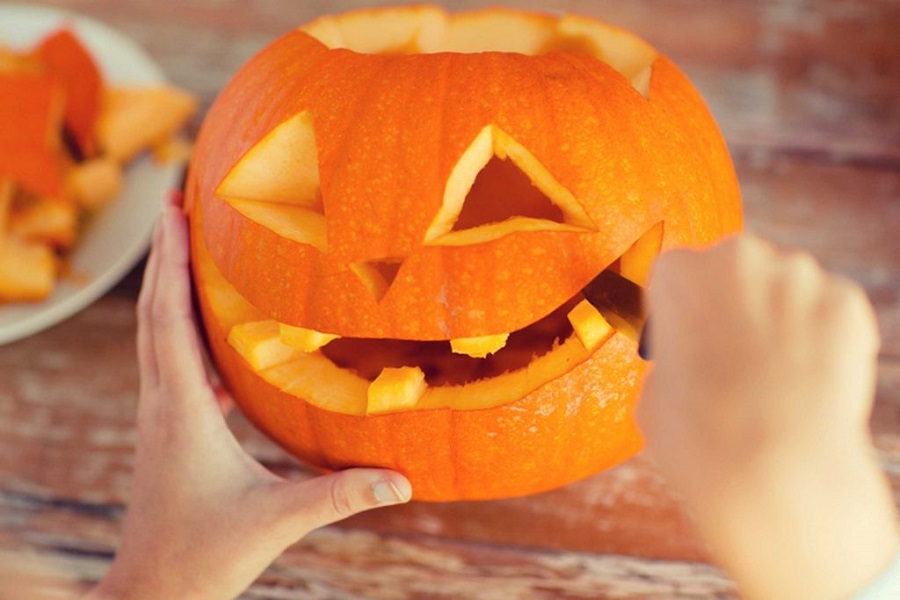
Scrape out all the pulp: Cut out a lid from the top or bottom. And remember to angle the knife towards the center so that the lid won’t fall into the inside. After that, use an ice-cream scoop to pull out the guts. The inside of the pumpkin should be as clean as possible so more light will be stored.
Carve your design: In case of a mistake, you can make simple rough cuts first and polish the edges later. Draw the knife alongside the outlines back and forth just a saw. If certain sections can’t be removed easily, try to push it from inside or use a toothpick.
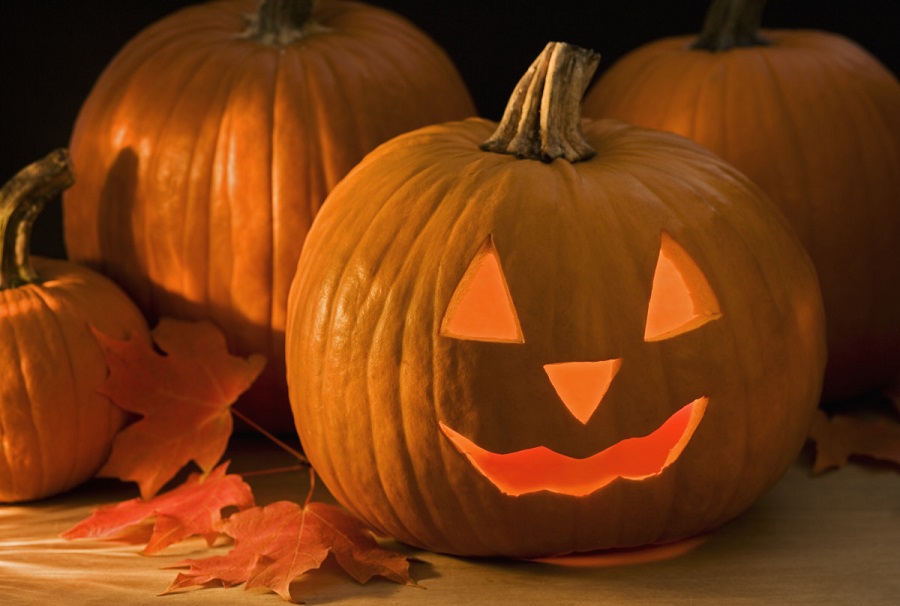
Light your pumpkin: The traditional way to light the pumpkin is to use a candlestick or tea light. But do blow it out before you go to bed. Alternatively, you can light the pumpkin with an LED light. This is a rather modern choice and much safer.

Read more:
Spooky Halloween Side Dishes Recipes


